Creating a site-to-site VPN between Azure and a Ubiquiti UniFi Security Gateway (USG)
I've recently been steadily working my way through some of the training material available for 70-534 (Architecting Microsoft Azure Solutions), both by watching online training videos on Pluralsight and by actually doing. I've been making notes from the training vidoes, with copious "*?" and "*!" (check this hasn't changed, and dig into this more to get knowledge, accordingly) markings in the margins. One of the things I wanted to actually do was to configure a Site To Site VPN from an Azure VNET to my Ubiquiti UniFi Security Gateway (USG). This is in part to act as a knowledge reinforcement (actually doing helps make the theory stick!) and also as an excuse to play around with some of the goodness that is Azure and also UniFi!
Steps in Azure to setup for the Site to Site VPN
The steps for this basically consist of: (a) Define a virtual network, (b) Configure a VPN Gateway for the virtual network. So, start off by creating a new Virtual Network (VNET)
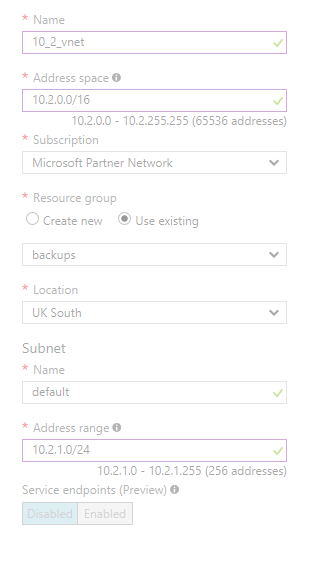
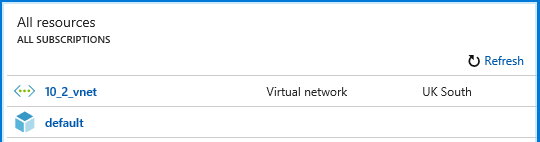
I've chosen the address space that I have because my on-prep network is contained within the 10.1.0.0/16 address space (which is tens of thosands more IPs than I'll ever need, but why not!) so allocating 10.2.0.0/16 (10.2.0.0 through 10.2.255.255, so again 65,536 addresses) as the address space I'm going to use in Azure seemed like a reasonable decision to make. As part of setting this up, I also specified a first subnet for the network. Here I comitted the cardinal Azure sin of not naming my object clearly. I'm now lumbered with an object called "default" in Azure. This really should have been called something along the lines of "10_2_vnet_default_subnet", but that's just me obsessing about naming things. Though it does look untidily ambiguous in the dashboard:
Once the VNET has been created, next up is creating what's called a "Gateway subnet", which is a subnet that contains IP addresses that the VNET gateway services use for your VPN service. This has to be called "GatewaySubnet" which is enforced by the creation UI, click on "+ Gateway subnet":
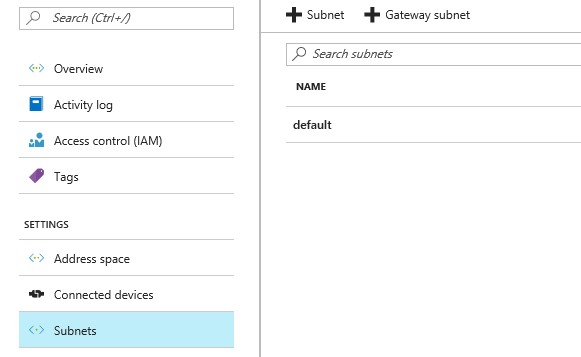
Clickint this brings up a bit of the portal UI that's very similar to that which you'd use for creating any other subnet, the exception being that the "Name" field is disabled so that you cannot change the name away from the mandated "GatewaySubnet". For this setup, I've elected to give the subnet the address range 10.2.100.0/24. I've no real particular reason for having chosen this range, other than the fact that the addresses will contain "100" should jump out at me if I'm looking at tracert output, or anything else that contains IP addresses. Once this has been setup, and saved, it's onwards to creating the VPN Gateway. This is created by going New > Virtual Network Gateway, skipping through the "Info" page by clicking on "Create" and then filling in the "Create virtual network gateway" form with details.
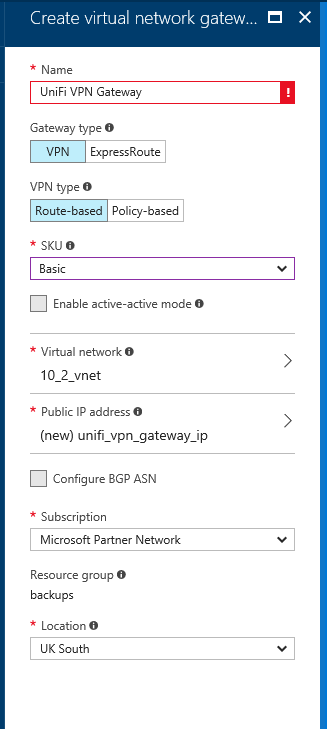
Because I don't have absolutely oodles of money available to me to fund my VPN into Azure, I've elected for the "Basic" SKU - though at the time of writing this covered an 100 Mbps connection which is more than enough for me! I've also left the VPN type as "Route-based", selected my existing virtual network ("10_2_vnet") as the Virtual network to associate with the VPN Gateway, then allocated a new Public IP address to the VPN Gateway. I also made the mistake, as you can see from the red highlighting/exclamation mark of naming my VPN Gateway with spaces. Alas, as you'll see from future screen-grabs, when I corrected this I typo'd! Once you've filled in all the required fields, corrected any validation mistakes, proof-read what you've typed and corrected any typo's, click "Create".
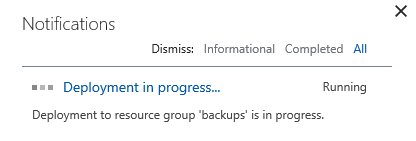
At this point you'll want to sit back and relax for a while as creation can take a while. As the UI itself says "Provisioning a virtual network gateway may take up to 45 minutes", but based on the timestamps from my screenshots, it took just under 20 minutes, this time, for me. So, sit back and watch the deploying spinner:
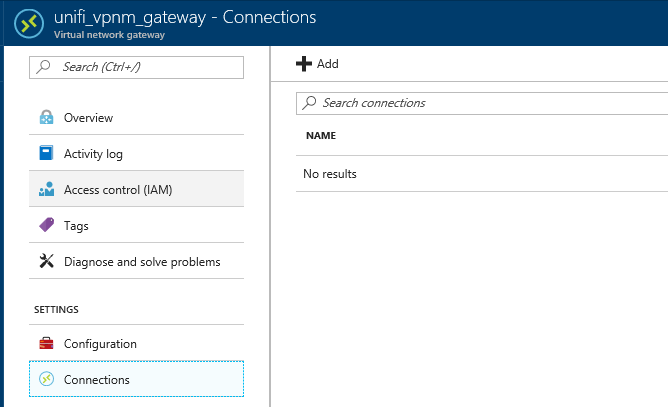
Once the deployment has completed, there are two steps left to complete in Azure before we move on to setting up the VPN connection in the UniFi Security Gateway, these are creating a connection and creating a local network gateway. It's a bit of a stretch to call this two steps as the local network gateway is created when you create the connection, but as you could theoretically create this separately, I've called it a discrete step. So, browse to your newly created Virtual network gateway, click on "Connections" and then on "+ Add"
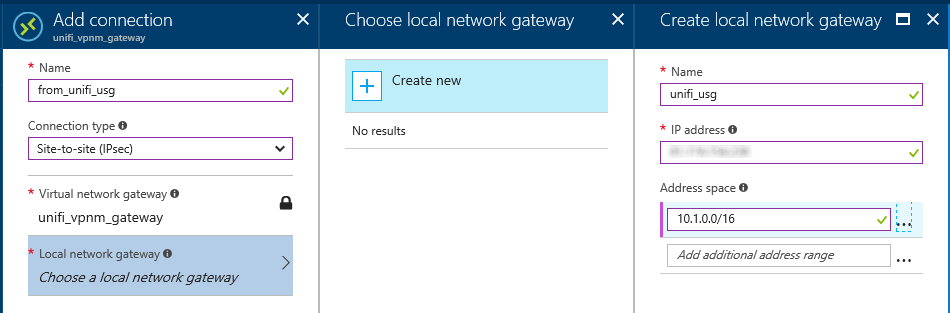
This will bring up the UI for creating a new connection for the Virtual nework gateway, start off by setting the "Connection type" to "Site-to-site (IPsec)" and then we'll create the new "local network gateway". This is, basically information about the edge device you'll be connecting from Azrue to along with the network sat behind it, as you can see from the filled in version for my connection.
Once that's done, there's a shared key to be defined. This is the secret that's used by both sides of the VPN to authenticate each other, so it should be long, it should be complex, it shouldbn't be easy to guess and most of all it shouldn't be shared in public, which is why the screenshot below of the completed "Add connection" configuration page has a blur applied!
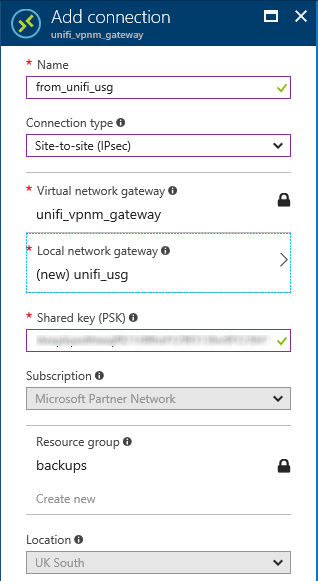
Click "OK" down at the bottom of the "Add connection" blade and that's everything that needs to be done in Azure completed. It's now on to the UniFi UI to setup the Site to Site VPN there
Steps in the UniFi UI to setup for the Site to Site VPN
This is a little bit simpler, perhaps because all the heavy lifring has been done in Azure and/or because Azure is the "thick end of the wedge", but the fact that UniFi seems to be simple to setup in general (despite the power it offers) probably plays a small part here. So, login to your UniFi UI, click the "Settings" cogs down on the bottom-left and then choose "Networks" on the settings page. From here it's a simple matter of clicking the "+ CREATE NEW NETWORK" button and then filling in the form that pops up, mostly with information we already have!
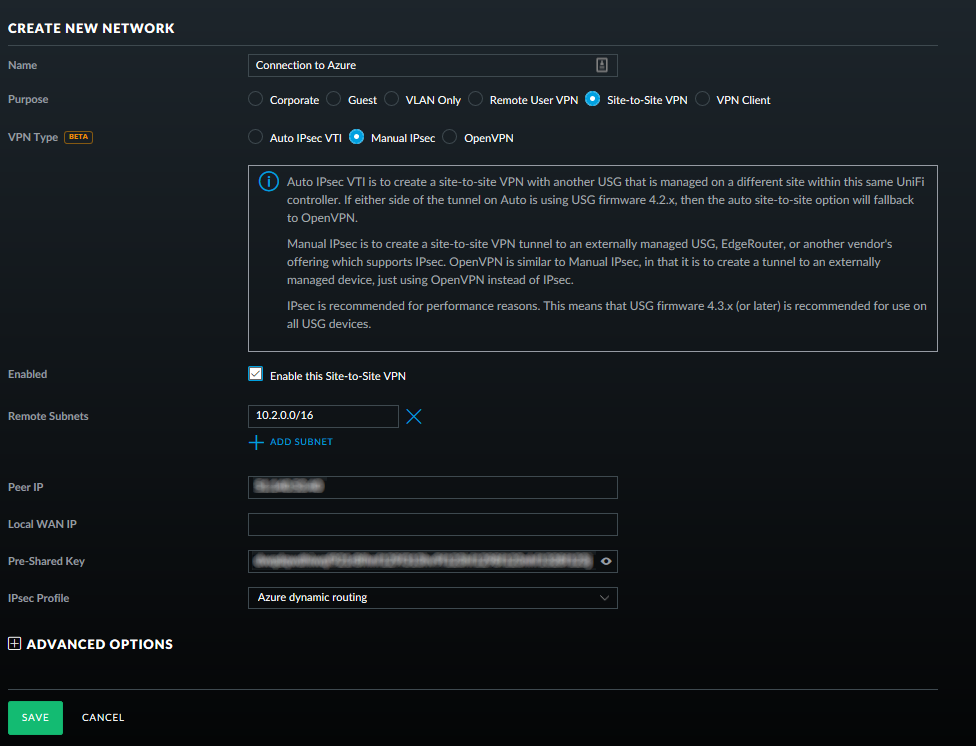
So, the options to choose are:
- Purpose: Site-to-Site VPN
- VPN Type: Manual IPSec
- Remote Subnets: Fill in the remote subnets that are in Azure here, so 10.2.0.0/16 as that's what I've configured
- Peer IP: This is the IP from Azure, the one I ended up naming "unifi_vpn_gateway_ip" further up
- Local WAN IP: This is the IP that the USG is establishing a VPN on, so will be the same IP specified when creating a "local network gateway" in Azure
- Pre-Shared Key: This is the secret that was stored when creating the connection in Azure
- IPSec Profile: Azure dynamic routing (purely because this is the first option I tried from the two, and it worked!)
Then click SAVE and that's it all setup. I have made an assumption here that the UI for configuration that is provided by a hosted Cloud Key (hosted via broadbandbuyer.com in this instance) is the same as that for a "real" Cloud Key, though I'd be surprised if they're not. So, that's one on-prem to Azure VPN setup. The last thing to do is to try it out!
Spin up a VM in Azure and check it can talk to on-prem resources
The easiest way I could think of to do this was to create a new Virtual Machine in Azure (making sure to put it in the 10_2_vnet!) and then attempt to access some on-prem resources from it. This worked a treat, so here's one last screenshot which I'll summarise underneath:
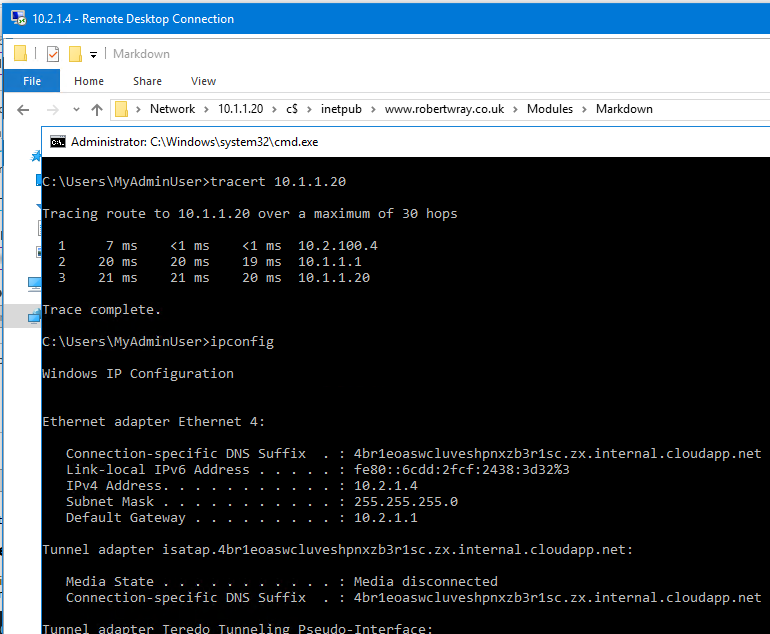
So:
- I'm accessing a Virtual Machine in Azure, over RDP on a 10.x.x.x address, so that's clearly not going out to a public IP across the internet.
- There's the output from tracert, from inside the Virtual Machine, showing the route to an on-prem resource (namely the web server that hosts this site!)
- There's also a share, shown in the Explorer window, connected through to on an on-prem machine from the Azure VM (again, the web server that hosts this site!)