Setting up SQL Server Reporting Services to use HTTPS/SSL
By default SQL Server Reporting Services (SSRS) sets itself up to respond to requests over HTTP made to the name of the machine that it's been installed on. Changing this up so that it can be connected to over HTTPS is pretty quick and easy to do.
Creating and installing the certificate
The first thing you need to do is ensure you have a certificate for the domain name that you want to connect to SSRS with. If you're working in a Windows domain, my instructions for generating an SSL certificate should do the job. The only caveat is that you don't actually need/want the SAN component specifically, what you want is a certificate that has the Common Name (CN) of the domain name you want, along with specifying it as a SAN, so something like this for the configuration file works quite nicely:
[req]
distinguished_name = req_distinguished_name
req_extensions = v3_req
prompt = no
[req_distinguished_name]
C = GB
ST = London
L = London
O = Robert Wray
OU = Testing
CN = reporting.staging.robertwray.local
[v3_req]
keyUsage = keyEncipherment, dataEncipherment
extendedKeyUsage = serverAuth
subjectAltName = @alt_names
[alt_names]
DNS.1 = reporting.staging.robertwray.local
DNS.2 = *.reporting.staging.robertwray.local
Now you've got the certificate you need to install it on the server that hosts SSRS. Do this by going to Start > Run and typing "mmc" to open an empty instance of Microsoft Management Console, then chosing Add/Remove Snap-ins... from the File menu which brings up the Add or Remove Snap-ins window:
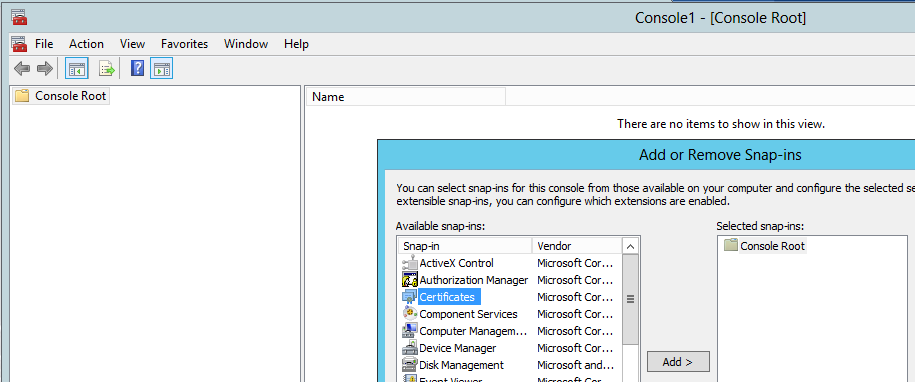
Once you've got the Add/Remove Snap-ins window open, select Certificates from the list of available snap-ins and click Add >, this will then show you a choice of which certificate store to open:
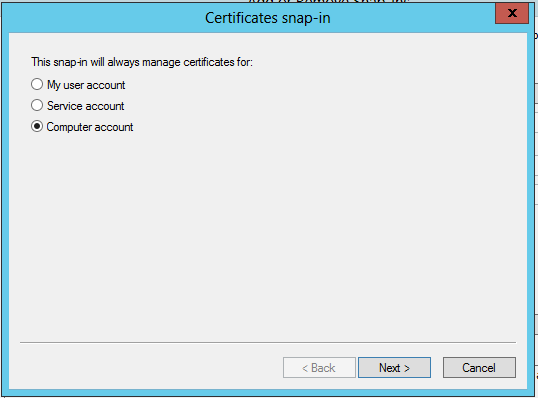
From here you want to select the Computer account store, click Next > select Local Computer in the next page of the dialog and click Finish. Now you can close the Add/Remove window by clicking OK.
Next up, expand the Personal node of the tree on the left-hand side of the window, right-click on Certificates and choose Import... from the All Tasks sub-menu of the context menu that appears.
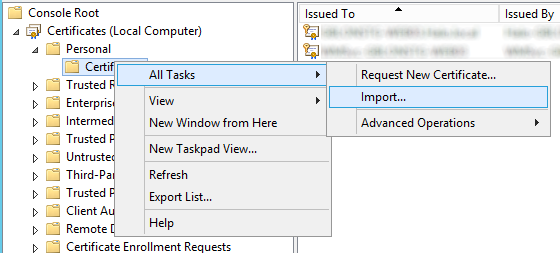
Now follow the steps of the wizard to import the PFX file that you previously created, specifying the password you set for the private key when prompted (you'll also need to change the file filter when looking for your certificate as it doesn't show .PFX files by default).
Setting up Reporting Services to use the certificate
Now the certificate is installed into the Computer certificate store, next up is updating the configuration of SSRS to use it and respond to requests made to your URL (don't forget to add an entry in DNS for the domain name you've added).
Start by opening Reporting Services Configuration Manager (RSCM) on the machine that it's been installed onto, making sure to connect to the local instance. You could connect remotely from another machine that has RSCM installed which has access to the server if you prefer. Move down to the Report Manager URL section of the UI:
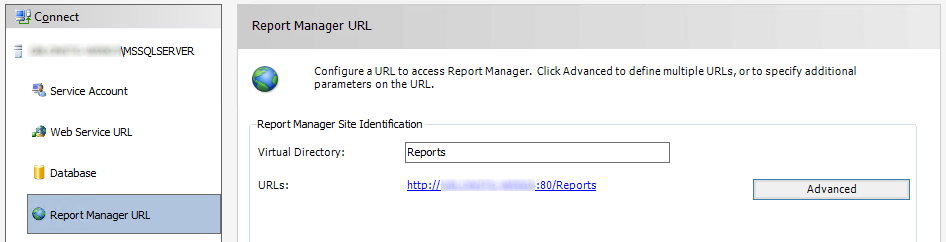
From here, click Advanced to bring up the Advanced Multiple Web Site Configuration window, then click the Add button under Multiple SSL identities for Report Manager which brings up the Add a Report Manager SSL Binding window:
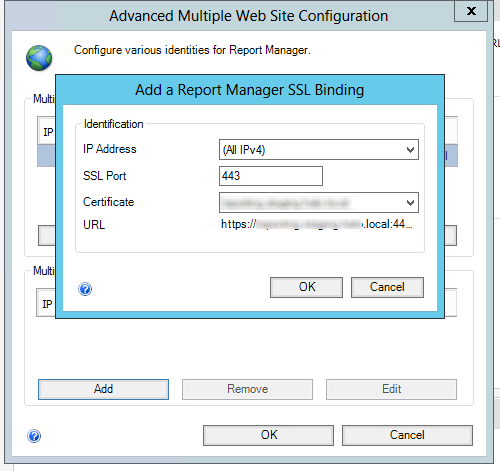
From here, choose the IP Address, SSL Port and the certificate you installed earlier before clicking OK, the OK again to dismiss both windows. The list of URLs listed under Report Manager Site Identification should update to also show the HTTPS address.
You can run netsh http show urlacl from a command prompt to see the additional URL reservation in place:
    Reserved URL            : https://reporting.staging.robertwray.local:443/Reports/

        User: NT SERVICE\ReportServer
            Listen: Yes
            Delegate: No
            SDDL: D:(A;;GX;;;S-1-5-80-0000000000-000000000-000000000-1234567890-1234567890)
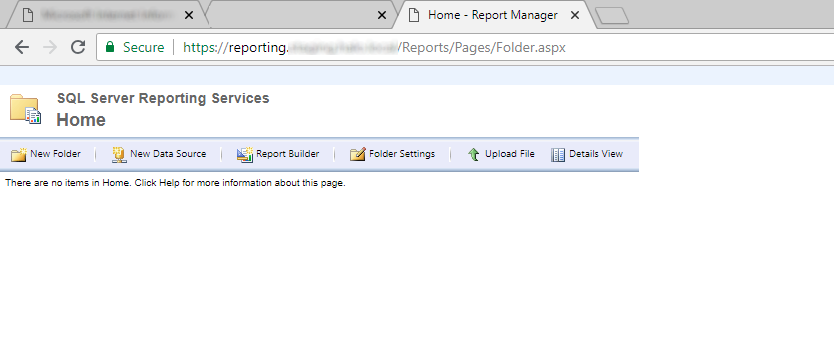
Of course the proof is in accessing the SSRS website via SSL and making sure it loads, which it should do, and then using the site as you usually would.