Setting an O365 user to have no password expiry via PowerShell
If, like me, you're using Office 365 as your email solution you may have encountered the situation where you don't get emails landing from such things as blog comments because the password has expired on the account you're using for sending those emails. If you don't set up a recurring reminder in your calendar to change this accounts password (both in Office 365 and all the places that are utilising the credentials for sending emails) then you'll start having a problem when the accounts password expires - if it's a relatively low volume of emails that are sent, you may not even notice straight away either!
One solution to this is to set the account so that the password doesn't expire - don't, whatever you do, set this policy for your entire Office 365 AAD domain, that's a really bad idea!
To do this, you could follow the instructions on support.office.com, however as these seem to be using the preview version of the AzureAD powershell module, I'm going to document using the production version, just so it's out there and gets search engine'd up. So, start off by installing the "pre-requisites":
Part of me can't help but think that as things go, it feels like the process for these particular components could be a bit cleaner as having two pre-reqs somewhat defeats the ease of running the "Install-Module" cmdlet and having everything taken care of for you.
Installing the AzureAD Module & changing the user
First up, install the AzureAD module (accepting the untrusted repository warning, if you need to) in an Administrator instance of PowerShell:
PS C:\WINDOWS\system32> Install-Module AzureAD

Untrusted repository
You are installing the modules from an untrusted repository. If you trust this repository, change its
InstallationPolicy value by running the Set-PSRepository cmdlet. Are you sure you want to install the modules from
'PSGallery'?
[Y] Yes  [A] Yes to All  [N] No  [L] No to All  [S] Suspend  [?] Help (default is "N"): Y
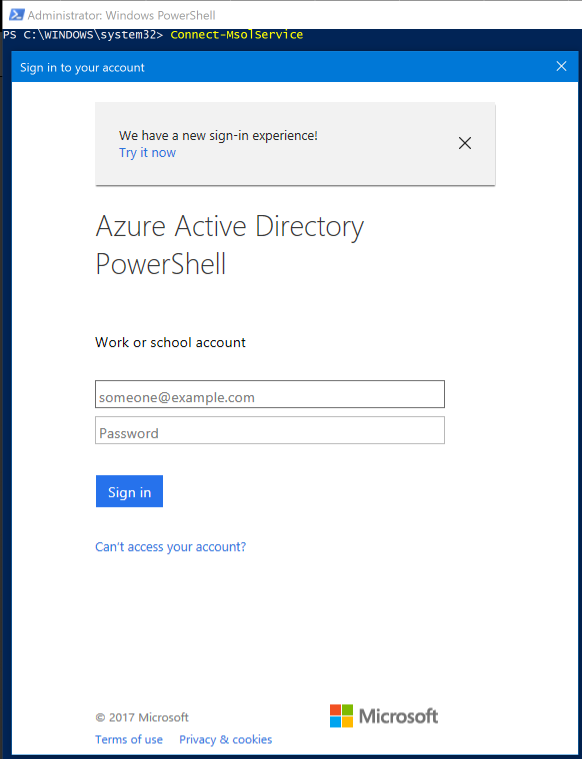
Next you'll need to run the Connect-MsolService cmdlet to authenticate against the Azure Active Directory instance that contains the user you're going to tweak. There are parameters that you can pass into this, but for the sake of simplicity right now, call it without and authenticate interactively
Once you've entered valid credentials (don't worry, you'll get told if you get them wrong!) you'll be dropped back to the PowerShell command prompt, ready to check the status of the user you want to modify and ultimately modify the user. Running the cmdlet Get-MsolUser without any parameters will enumerate all the users that you have, which is of limited use unless you have a reasonably small number of users in Office 365 / your AAD domain. The trick is to know and specifythe User Principal Name (UPN) for the user:
PS C:\WINDOWS\system32> Get-MsolUser -UserPrincipalName user.name@yourdomain.com

UserPrincipalName             DisplayName     isLicensed
-----------------             -----------     ----------
user.name@yourdomain.com      John Smith      True
Again, unfortunately this is of limited use as it doesn't show you whether the user has the "Password Never Expires" flag set. In order to get this, you can pipe the results to select and ask for the value of the PasswordNeverExpires property
PS C:\WINDOWS\system32> Get-MsolUser -UserPrincipalName user.name@yourdomain.com | Select PasswordNeverExpires

PasswordNeverExpires
--------------------
                False
Moving very swiftly on, it's now a simple matter to use the Set-MsolUser cmdlet to change the PasswordNeverExpires property from False to True for the user, et voila!
PS C:\WINDOWS\system32> Set-MsolUser -UserPrincipalName user.name@yourdomain.com -PasswordNeverExpires $true
And that's all there is to it! You can run the Get-MsolUser cmdlet again to verify that the property has beeen changed, if you want as Set-MsolUser doesn't return a positive visible result.