Enabling Social Meta Tags in Orchard
I've been sharing some of the content I've written via LinkedIn, Twitter and Facebook - mainly reserving the recipes I've been putting together for Facebook and the more technical / professional stuff for LinkedIn and Twitter. Facebook and LinkedIn seem to be fairly aggressive about parsing the content of the linked page and extracting what they think is appropriate meta-data, e.g. any associated image, article title, etc, whereas Twitter seems to rely exclusively on in-page meta data and without it will do nothing other than leave the link in the tweet. This means that, as it's been fairly low down my list of things to do, I've been "faking out" my tweets to make them look kinda, sorta like they've got the metadata associated with them that twitter groks. That said, it's definitely a fake out, one of these things definitely does not look like the other!

Here's a selection of links to useful bits of information in this area
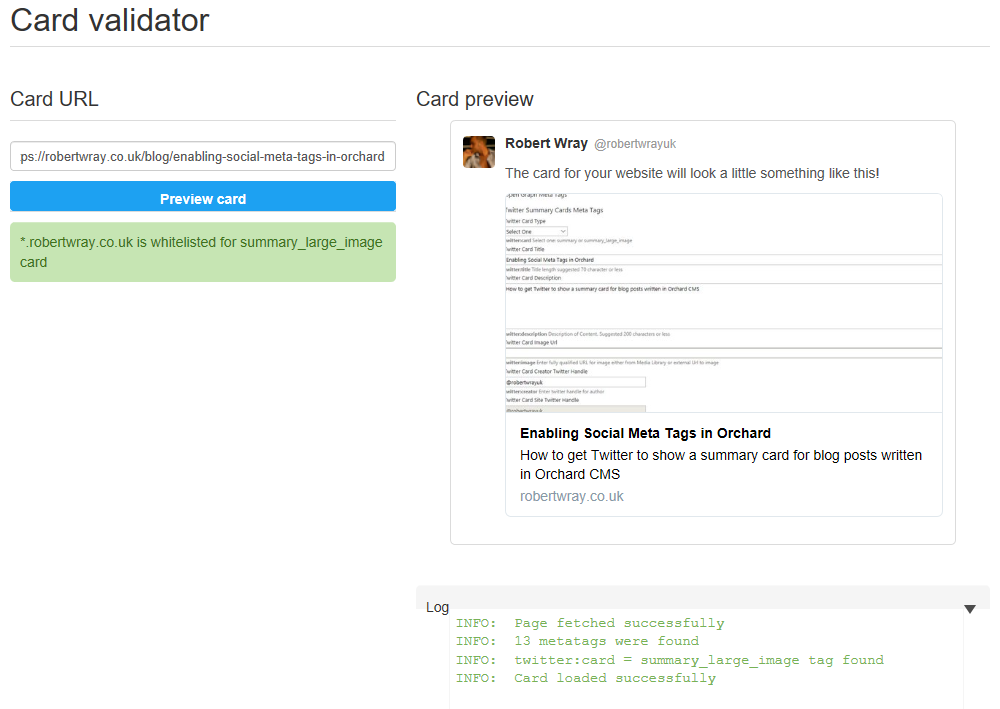
- Card Validator - a twitter tool that you can use to inspect a page and confirm that the metadata that twitter is looking for is present
- Cards markup - information from twitter about the markup you can decorate your content with so that twitter will be able to display a card for you content, covers both their "bepoke" markup and parts of the Open Graph markup that it maps to
- What You Need to Know About Open Graph Meta Tags for Total Facebook and Twitter Mastery - a post from kissmetrics that, well, does what it says on the tin!
So, getting the markup into Orchard content
NOTE: This section deals with Open Graph Meta Tags; twitter doesn't seem to think much of these and the way to go is Twitter specific tags, which I cover further on down
My immediate thought was, "I know, I'll go and write a module to do this", quickly followed by "haaaaaang on, surely this is a solved problem for a CMS?", which turned out to be true. A quick search on the Orchard Module Gallery turned up a module called Social Meta Tags which does what it says on the tin, with the added advantage that it has documented compatibility with Orchard 1.10.x. The latter is important as there seem to have been a couple of changes introduced in 1.10.x that have broken a large number of modules, albeit it seems to be more of a problem for modules that haven't been updated in quite some time!
First step, install the module. I'm not going to go into detail on this because it's not very interesting and there's Orchard documentation for this. Once the module is installed, and the feature enabled, it does get a bit more interesting. The "Settings" area of your /Admin dashboard will now be home to a "Social Meta Tags" entry, click on this to bring up the Settings user interface for the module
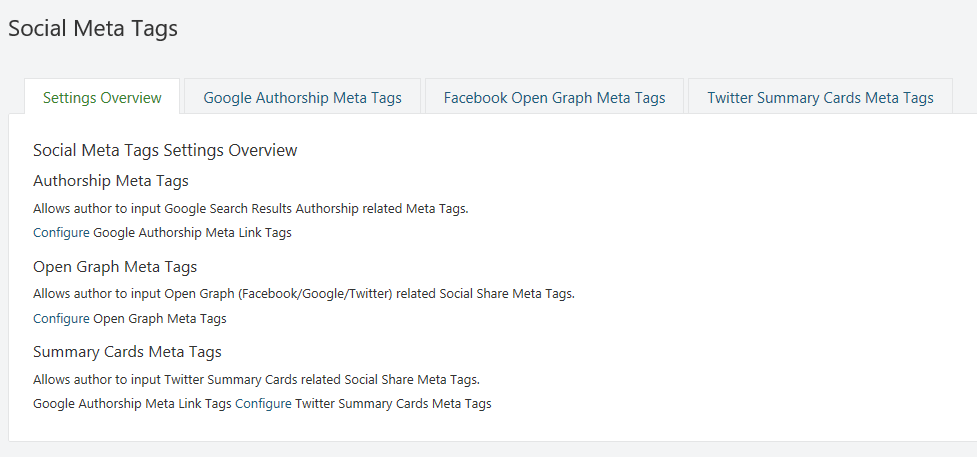
From there, I decided that I was only going to configure Open Graph meta tags for now, so I clicked on the almost hidden "Configure" link under the "Open Graph Meta Tags" heading on the Settings Overview tab. This basically takes you to the "Facebook Open Graph Meta Tags" tab, where you can choose which tags are enabled, which ones aren't and default values for some of the settings. As you can see from the screenshot below, I was absolutely unable to resist the urge to override the local tag to en-GB, because, well, I can!
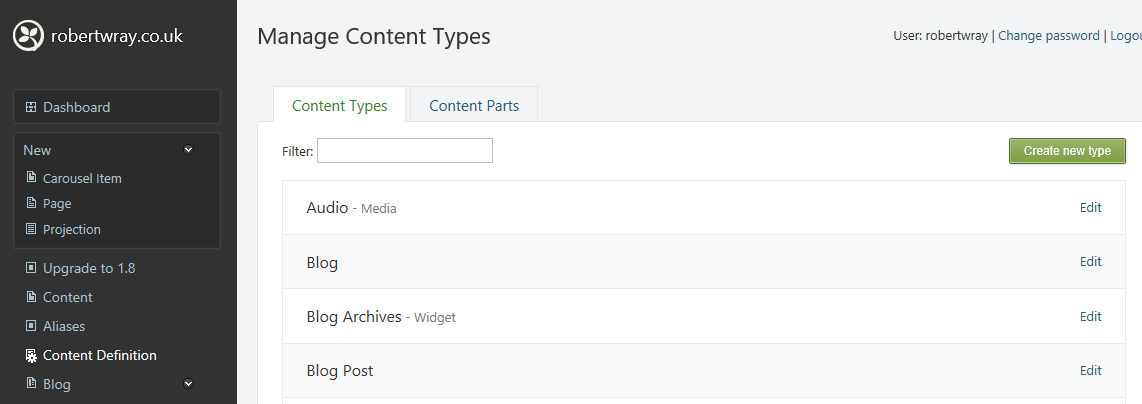
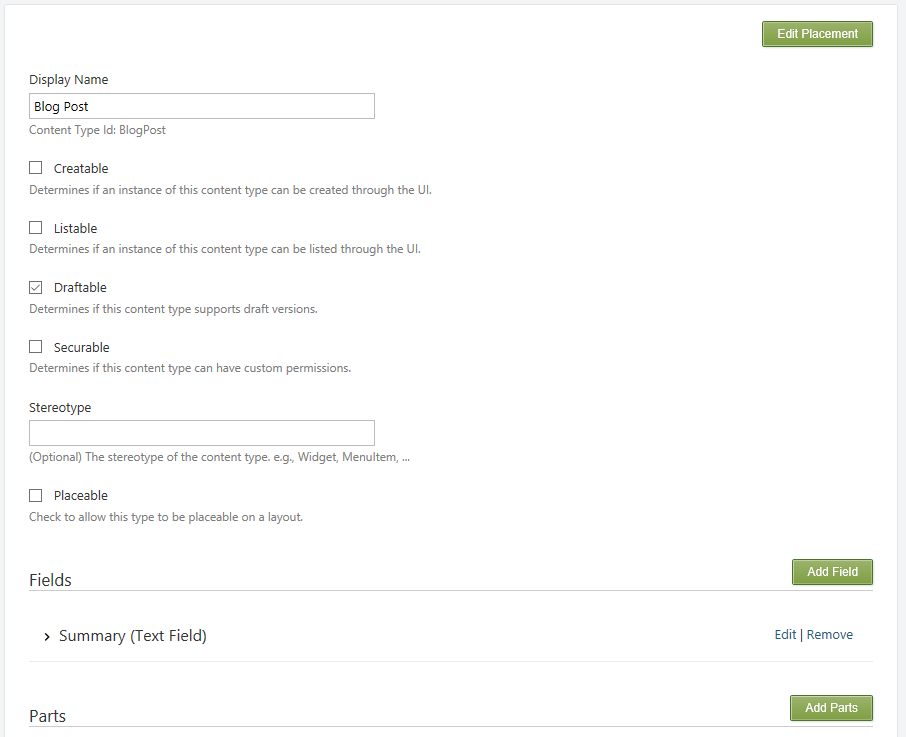
The next step is to add the Open Graph Meta Tags content part to the Blog Post content type so that values fore each of the tags can be specified on a per-post basis. This isn't difficult and the starting point is visiting Content Definition in the /Admin area of your Orchard site, finding Blog Post and clicking Edit.
Once you've clicked Edit, the next thing to do is to scroll down until you see Parts, click "Add Parts" and add the "Open Graph Meta Tags" content part
Once that's done, and you've clicked save, you should be presented with a top-hat that confirms that it's done.

It's now a matter of navigating through the /Admin area back to one of your blog posts and adding some metadata to it. Once you've gone back into a blog and selected a post, you should see some additional UI for specifying the content of the Open Graph meta tags. In the case of Open Graph, these are hidden in a collapsed area so won't appear until you click on the chevron to expand it.
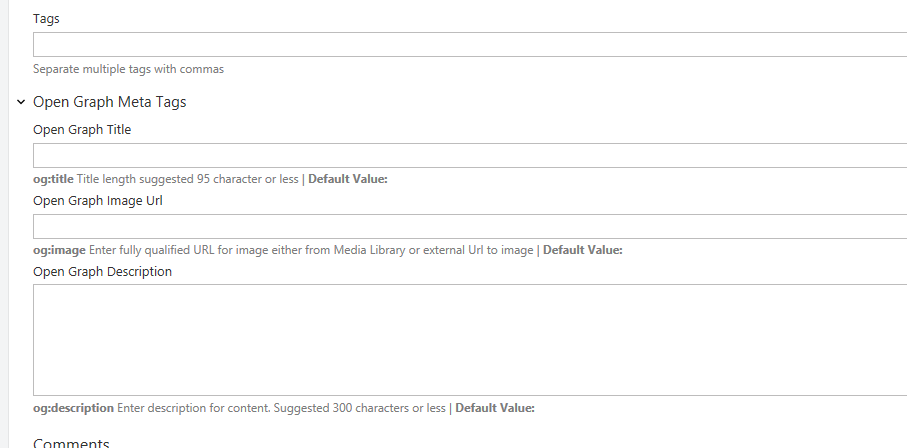
Add some values into these fields, save your post and publish it. One "trick" I used to confirm that the meta tags are actually being picked up was to tweak the title of a post and then publish a link to it on Facebook. This is a quick and easy way to confirm that something that consumes these tags is consuming them in preference to the actual post/page title, for example. Et voila:

Unfortunately, as I alluded to at the top of this section, running your page through the Twitter Card Validator won't show the meta tags being consumed - it looks like we need to use the Twitter specific ones!
Lighting up Twitter
This is much of the same, the process outlined above for configuring and ebaling Open Graph Meta Tags is repeated, except we're now using the Summary Cards Meta Tags content part (to attach to the Blog Post content type), setting which meta tags we want to expose in the Settings UI against Twitter Summary Cards Meta Tags and setting the specific values against a section of the same name which will have appeared in the Blog Post editing UI. Unfortunately, unlike Open Graph, the Twitter tags aren't in a collapsed section so are always on display.
Once these fields have been filled in, the post saved and published, returning to the Twitter Card Validator should show a card, just like this: