Creating your own certificates for development/test environments - Part 1
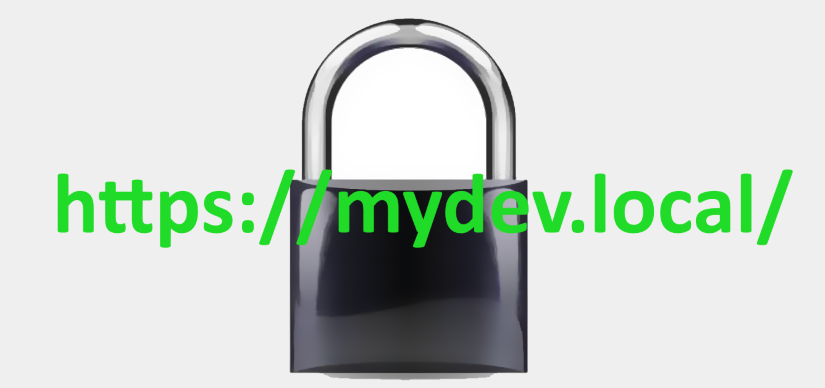
So that HTTPS bindings can be configured in IIS in a development/test environment, there are a couple of options:
- Use IIS to create a Self-Signed certificate
- Create your own root certificate to sign the certificate(s) that you use for the HTTPS bindings
The latter option is one that I've used, and consists of four things that need to happen:
- Creating a root certificate
- Adding the root certificate to the machine Trusted Root Certification Authorities store
- Creating a certificate for the host(s) that you wish to create HTTPS bindings for
- Installing the certificate into IIS and creating bindings
This post covers steps 1 and 2. For steps 3 and 4, take a look at part 2 of this post.
Creating a root certificate
The first step with this is to make sure that you have access to the "makecert" tool, which is available as part of the Windows SDK. The path to it will vary dependent on the version of the SDK you have installed, and may have already been deposited somewhere on your file system by a Visual Studio install. The path I have to the tool is C:\Program Files (x86)\Windows Kits\10\bin\x64 - yours may vary.
The syntax for the command to create a new root Certificate Authority is:
PATH_TO_MAKECERT\makecert.exe -n "CN=NAME_TO_DISPLAY_FOR_CERTIFICATE,O=ORGANISATION_FOR_CERTIFICATE,OU=DEPARTMENT_FOR_CERTIFICATE,L=TOWN,S=COUNTY,C=COUNTRY" -pe -ss Root -sky exchange -m 120 -a sha256 -len 2048 -r -cy authority
Each of the values that is highlighted needs to be populated with appropriate values prior to running the command, for example:
PATH_TO_MAKECERT\makecert.exe -n "CN=robertwray.co.uk Dev & Test Root CA,O=robertwray.co.uk,OU=Development,L=Basingstoke,S=Hampshire,C=United Kingdom" -pe -ss Root -sky exchange -m 120 -a sha256 -len 2048 -r -cy authority
When you run the command, you'll receive a warning message from Windows that looks something like this:

Choose "Yes" and you should receive the message "Succeeded" in the command prompt.
Adding the root certificate to the machine Trusted Root Certification Authorities store
Because IIS doesn't generally run as "you" (unless you're using IIS Express), your new CA root certificate needs to be installed in the Local Computer "Trusted Root Certification Authorities" store. To do this, you first need to export it from your personal store by:
- [Windows Key] - [R] > certmgr.mmc
- Navigate down through "Certificates - Current User" > Trusted Root Certification Authorities > Certificates
- Find the certificate that you've just created, right-click and choose All Tasks > Export
- Click "Next" to pass through the "Welcome to the Certificate Export Wizard" page
- On the "Export Private Key" page, choose "Yes, export the private key" and click "Next"
- On the "Export File Format" page, leave the default (.PFX) un-changed and click "Next"
- On the "Security" page, either assign rights to Groups/Usernames for the Private Key, or assign a password, then click "Next"
- On the "File to Export" page, provide a location for the file and click "Next" (for example "C:\Users\robertwray\Documents\Certificates\rwcouk.pfx")
- You should be told that the certificate has been exported succesfully, so click "Finish"
If you browser to the location that you saved the file, right-click it and choose "Open" you'll be able to drill down through the treeview on the left-hand side and view the certificate to confirm that it's there.
To actually install it into the Local Computer store:
- Open the file by double clicking
- Choose "Local Machine" for "Store Location" and click "Next" (If you're running as a non-Administrator user/with UAC switched on you should be prompted to elevate now)
- On the "File to Import" page, confirm that the filename is correct and click "Next"
- If you chose the "password" option to protect the file, you'll now be presented with the "Private key protection" page to enter the password.
- Enter the password
- Tick the "Mark this key as exportable." box (more on this later!)
- Click "Next"
- On the "Certificate Store" page, leave "Automatically select..." selected and click "Next"
- Click "Finish"
To verify that the certificate is present as expected, you need to view the Local Machine view of the Certificate Store. One way to do this is to:
- [Windows Key] - [R] > mmc.exe
- Choose File (menu) > Add/Remove Snap-in...
- In the dialog that appears, double click on "Certificates" in the left-hand list
- You'll be prompted for which certificates the snap-in should manage, choose "Computer account" and click "Finish"
- When prompted to select a computer, leavethe choice of "Local computer" selected and click "Finish"
- You'll be returned to the "Add or Remove Snap-ins" window, click "OK"
You'll now have a view (as you did previously for your certificate stores) of the certificate stores, but for the local machine, where you can see that your Root CA certificate installed.
Private Keys
In all the steps above, the private key for the CA root certificate is pretty much left lying around. "Real" root certificates are treated a little bit more carefully, with the machines that the private keys are held on air-gapped, keys are generated under a key ceremony regimen and the only certificates generated from the root certificate are one, or more, intermediate certificates. By limiting access to the root certificate and its private key this way, trust that certificates signed by the CA root certificate are genuine can be maintained. If an intermeidate certificate is compromised, it can be revoked which will "only" affect certificates signed by that intermediate.
For a development/test environment, this doesn't matter quite as much but is certainly worth bearing in mind.
About Rob
I've been interested in computing since the day my Dad purchased his first business PC (an Amstrad PC 1640 for anyone interested) which introduced me to MS-DOS batch programming and BASIC.
My skillset has matured somewhat since then, which you'll probably see from the posts here. You can read a bit more about me on the about page of the site, or check out some of the other posts on my areas of interest.
My skillset has matured somewhat since then, which you'll probably see from the posts here. You can read a bit more about me on the about page of the site, or check out some of the other posts on my areas of interest.