Authenticating Ubiquiti UniFi VPN users against a domain using RADIUS
One of the things that annoyed me about the setup I had when I was using a DrayTek router was that the VPN didn't authenticate using my Active Directory credentials (yes, for reasons, I've got a DC or two running - along with the other stuff that it lets me geek out with). I have a vague recollection of there being some settings in there for configuring it to use RADIUS to authenticate, meaning I probably could have configured it to use AD, but I never quite got it working. I could've also setup RRAS and setup the DrayTek to pass-through; I did have this setup at one point but am not entirely sure why I reverted to using DrayTeks VPN setup - a firmware that borked it perhaps?
Once I'd got all the UniFi kit in, one of the things I wanted to try was to setup the VPN to authenticate against AD, I did some research (and forgot to stash links to the pages I found so as to give credit later) and got it all working. There are three things that you need to do for this:
- Install and configure the RADIUS server component on a Windows Server instance
- Configure a RADIUS profile in UniFi that maps to the RADIUS server that you've setup
- Create a new "Remote User VPN" type network in UniFi that's setup to use the RADIUS profile you've created
Installing RADIUS on Windows Server
These details are for Windows Server 2012 R2 so if you're using a different version of Windows Server the steps may vary. They're also for "how to" via the GUI, doubtless everything here is possible via PowerShell, but that's not how I installed and configured this.
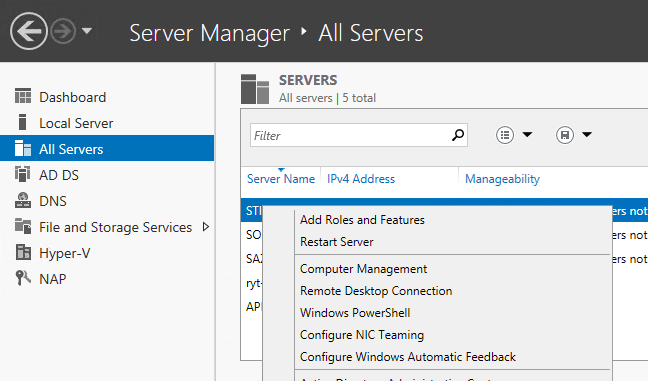
The first thing to do is to install the "Network Policy and Access Server" role to the server you're going to use, which is done in the usual way by finding the server in Server Manager (I use "All Servers" and have all my servers added to the list for ease of doing things like this), right-click and choose Add Roles and Features.
Click through the "Before you begin" page (if you haven't already been here once and ticked "Skip this page by default", choose "Role-based or feature-based installation" on the "Select installation type" page and then you'll get to the "Select destination server" page. Double check that the server you want to install onto is the one that's selected and again click "Next".
Now you're at the "Select server roles" page you can select "Network Policy and Access Services", which might pop-up an "Add features that are required for Network Policy and Access Services?" dialog to warn you what else will be coming along for the ride.
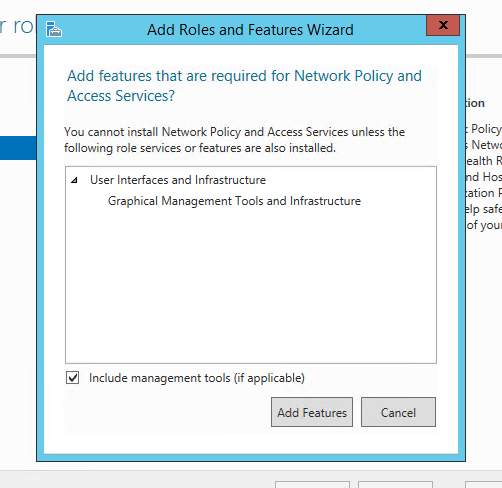
You'll want to click "Add Features" to confirm this amd then "Next" when it returns you to the "Select server roles" page. You'll be prompted with the "Select features" page next, you can sail right past this by clicking the ever-present "Next" button which should bring you to a page titled "Network Policy and Access Services" which gives you some information about what you're installing. Have a read, don't, it's up to you. Either way next up, click "Next".
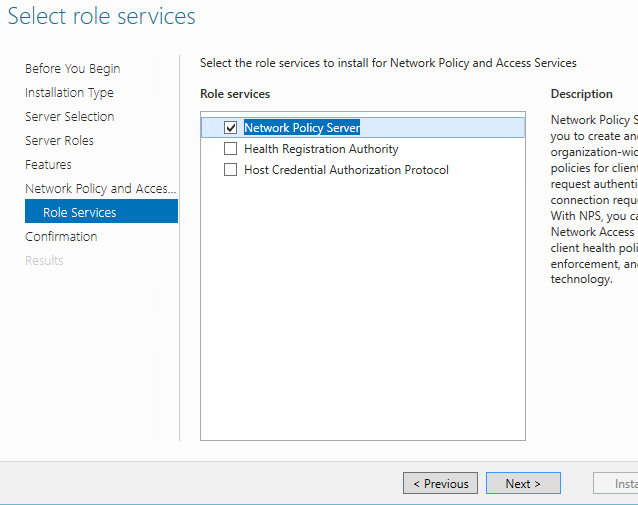
Next up is the "Select role services" page. This should show with "Network Policy Server" already selected, if for any reason it isn't, select it and then click "Next"
We're onto the home stretch now as the "Confirm installation selections" page will be displayed. You can tick the "Restart the destination server automatically if required" and specify an alternate installation source path, if necessary, but it's now down to clicking the "Install" button and waiting for the server role and role services to be installed.

That's all there is to getting the RADIUS server components installed, assuming that it installs without issue. I did need to reboot the server in question, so once that's one you can then move on to configurint RADIUS ready for it to talk to UniFi.
Configuring RADIUS on Windows Server
Once you've got the Network Policy Server component installed onto your server, the next step is to configure it to respond to RADIUS authentication requests, so that your UniFi Security Gateway (USG) can talk to it to authorise users. The first thing to do is to load the Network Policy Server management console, either by Start > "Network Policy Server" or [WINDOWS KEY-R] > "nps.msc". The user interface should look a little like this:

First, lets create a RADIUS Client (as the USG is a client of the RADIUS server, even though it's the VPN server in its own right) by expanding "RADIUS Clients and Servers" which will expand to show options of "RADIUS Clients" and "Remote RADIUS Server Groups". Right-click on "RADIUS Clients" and choose "New". This will show the "New RADIUS Client" window which needs to be filled in. There are three steps to this:
- Friendly name - this is a human readable name, like "UniFi Security Gateway" that describes the device that is going to make RADIUS authentication requests to this server
- Address (IP or DNS) - this is the IP / DNS name of the device, so the IP address of your USG
- Shared secret (and Confirmk shared secret) - this is the shared secret that your USG will use to authenticate itself against the server when it makes authentication requests. The easiest way to fill this in is to toggle the radio button from "Manual" to "Generate", there is one caveat to this that I'll get to
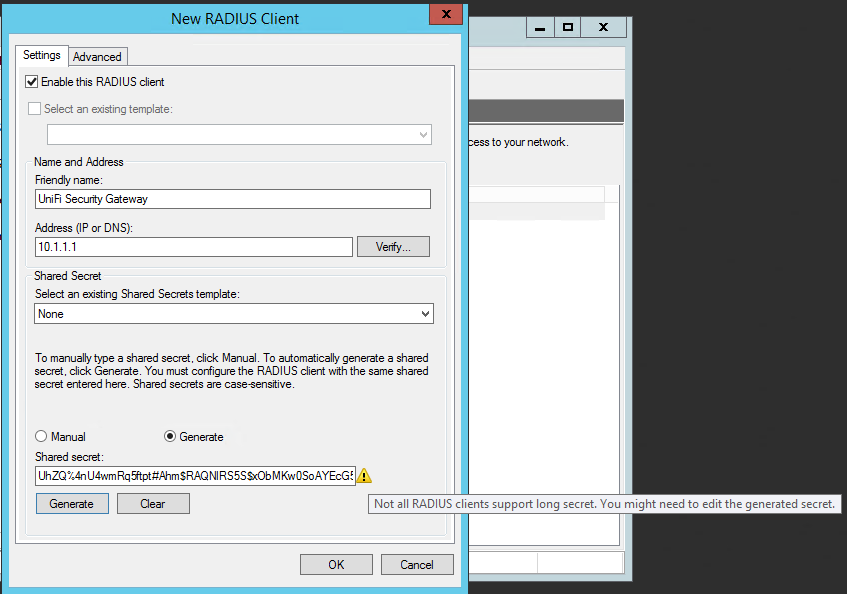
See that tool-tip (which is showing because I've hovered over the yellow triangle next to the "Shared secret" textbox? That's warning that the generated secret might be too long. In the case of the UniFi Security Gateway, it looks like the long secrets that Windows Server generates are too long. The generated code is 65 characters long, I had to pare mine back to 48 characters to get the USG to play nicely with it, so you may want to do that now.
Click "OK" once you've got all the settings in (not that there's many to set!), making sure to make a note of the shared secret as you'll need this when it comes to configuring your USG to talk to the RADIUS server / Network Policy Server you've been setting up. You now need to setup a "Network Policy" to allow you to control who is and isn't allowed to connect. To do this, expand the "Policies" node, right-click "Network Policies" and choose "New" from the menu. This pops-up a wizard type interface to allow you to define the policy, which I'll capture here as a series of filled-in screenshots.
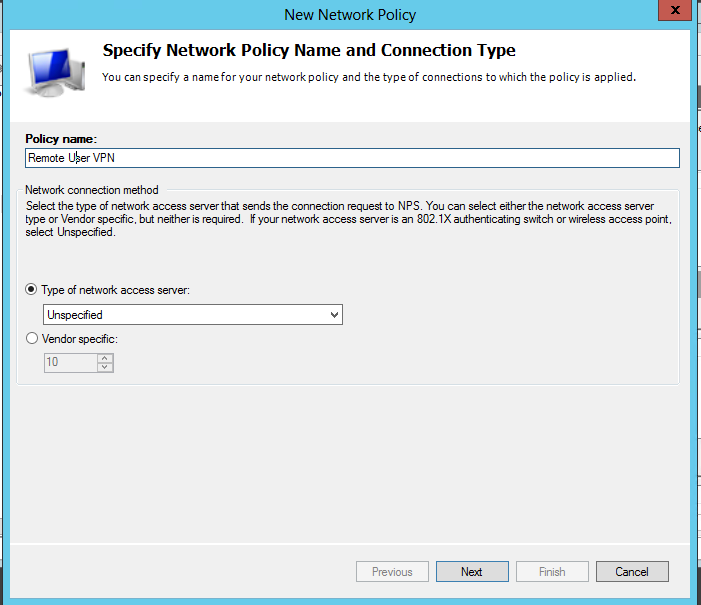
Start by giving your policy a name, and then click "Next":
Next up will be the "Specify Conditions" page of the wizard, on this page click the "Add" button to start specifying conditions that determine who the policy is evaluated for, this will pop up a "Select condition" window, in which I've opted for "Windows Groups"
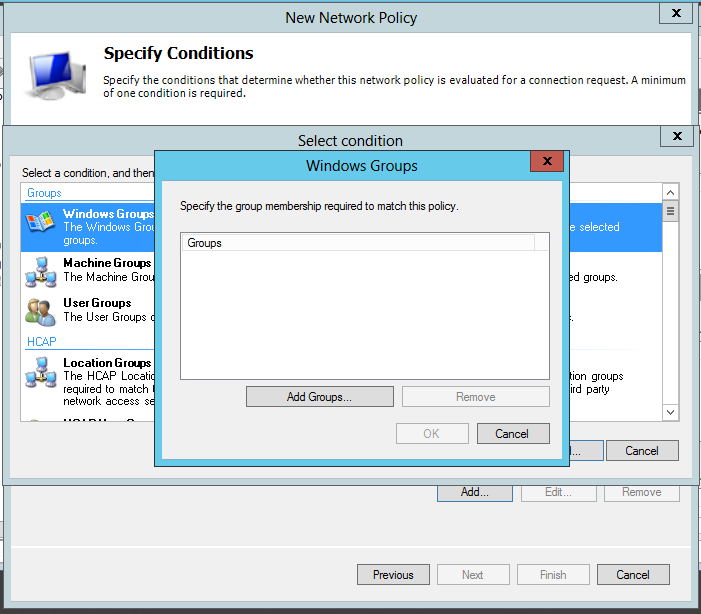
Go ahead and choose whatever groups you want to use. For simplicities sake I'm going to choose "COCKTAIL\Domain Users" - i.e. anyone who is a domain user can use the VPN. The UI that appears when you click "Add Groups..." is the familiar Windows UI for selecting objects from Active Directory, so I won't go into any detail about that. Once you've selected a group / some groups and dismissed the pop-ups so that you're back to the "Specify Conditions" page of the wizard, click "Next". This will bring up the "Specify Access Permission" page. As this is a policy to grant users access, check "Access granted" and click "Next".
The next page of the wizard is all about configuring Authentication Methods for users. I've left MS-CHAP-v2 ticked and nothing else:

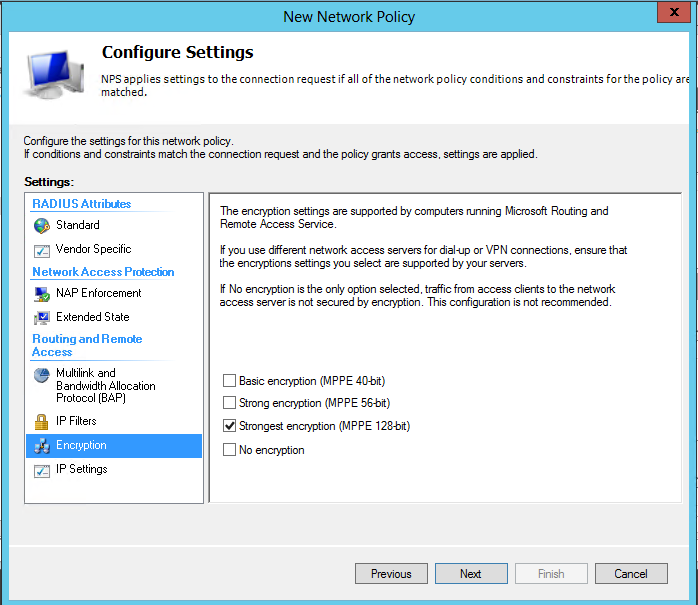
Next up is a page titled "Configure Constraints". I've left everything here as it is by default, so just click "Next" to move to the next page, which is "Configure Settings". The only change I've made here is to change "Encryption" to be "Strongest encryption (MPPE 128-bit)":
All that's left now is to click "Next" which will bring up the "Completing New Network Policy" summary page of the wizard, double check that the informatuion it shows is correct and click "Finish".
That's it for configuring RADIUS in Network Policy Server, leaving the remaining bit of work to be setting up the UniFi USG to talk to it.
Creating a RADIUS profile in your USG
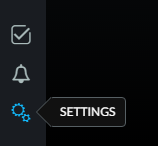
Log into your UnIFi "control panel" and click on the "Settings" item on the bottom-left of the screen:
This takes you into the Settings area of the control panel, where we want to click on "Profiles" to see a list of the RADIUS Profiles that are configured (none, other than the USG itself) and, more to the point, create one!
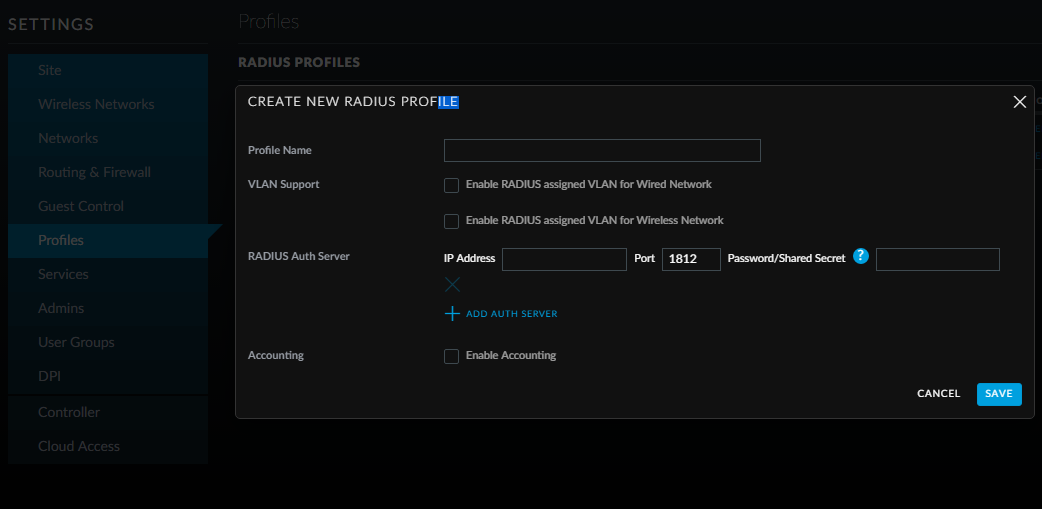
Fill in the fields:
- Give the profile a name - I've named it with the name of the server that I've configured, this just makes it clear (without having to think!) what it is and where it's coming from
- Enter the IP Address of the server - that is, the IP address of the Windows Server you've just configured the Network Policy Server on
- Enter the shared secret - that you saved from earlier, right? Remember (though this may have changed!), the USG doesn't like one that's the full length that Windows initially gives when it generated a shared secret itself
Then click "SAVE" and that's the RADIUS profile all done and ready to be usef with your VPN.
Setting up the VPN with the RADIUS profile
This, like the steps for creating the RADIUS profile, is almost trivial. Go to the "Networks" area of the control panel and click on "+ CREATE NEW NETWORK". I've included a screengrab of the setup I've made, but the RADIUS relevant bit is simply making sure that the RADIUS profile you created is selected from the "RADIUS Profile" drop-down. All the otther settings, like Gateway/Subnet/VPN Type/Name Server(s) will be entirely down to your network configuration!
